Spring came. It's time to update. The mood is that at home I want to make seasonal repairs. The issue will help solve the placement of accents in the room. It is enough to exchange old items for new in the most prominent places. It is amazing how such a simple solution will improve your mood and save your family budget. You can make a personal precious contribution to this business by making unique crafts in the spring style with your own hands.
DIY spring lace pattern
From this picture it blows with the aromas of spring, it feels light and weightless femininity and comfort. It is done simply. All materials at hand are sold in the sewing accessories store and office.
Materials and tools: a frame suitable for the interior, size 40/50 cm, acrylic white paint, black watercolor paint, brushes, small paint roller, ribbons and lace, beads, a heat gun and glue (you can use ordinary clerical transparent as a last resort glue), cardboard, scissors, ruler, flat dishes for the roller, needle and thread.

Stage 1
A solid foundation is being prepared to create a future picture. Cardboard is taken and cut to the size of the sheet in the frame.
Stage 2
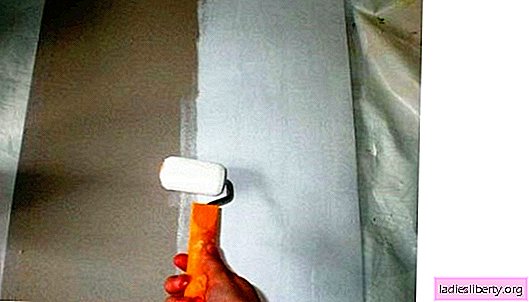
The front part of the cardboard on which the craft will be created must be primed. Acrylic paint is diluted in pre-cooked dishes for the roller. A roller is lowered into the container, dipped and paint is applied to the paper surface. The primed surface should dry well. Drying time depends strictly on the company, brand and type of acrylic paint, which is indicated on the package.
Stage 3
On the resulting snow-white basis, a female silhouette is drawn. It is recommended to print it on a printer and cut the desired image with scissors. Then it is applied to the base and outlined on the edge with a pencil. However, if desired, such a silhouette can be drawn by hand. It is important that this happens the first time.

Stage 4
Black paint shades the female image. Work starts from the edges to the center. The paint should dry well.
Stage 5
The formation of flowers. A flower is made from a piece of ribbon or lace 15 cm long: a basting stitch is sewn manually with a needle and thread, the thread is pulled and a tight assembly is obtained. The thread is fixed. The center of the flower is decorated with a bead.
Fabrics and layers can be combined. In some cases, simple bows are appropriate, as in the photo.

Stage 6
DIY spring crafts decoration. The female image in the picture is decorated unevenly with flowers. Each textile element is glued using a heat gun and glue. It is recommended to create a floral image in advance - prior to gluing, place the whole composition on the basis - and look at it from the side.

Stage 7
The background of the picture also needs to be partially decorated with plastic flowers, circles, textile butterflies. Butterflies are woven from organza.
Stage 8
DIY finished craft is inserted into the frame prepared in advance. Glass in it, of course, does not fit. If desired, you can make varnish spraying from a spray. "Odorless, colorless varnish for interior work" is purchased at a hardware store.
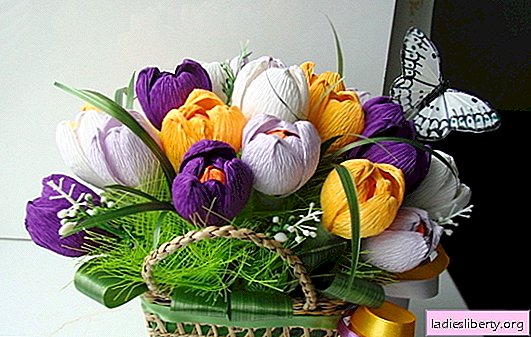
Spring do-it-yourself crocuses from paper with sweets
Such a craft will be mastered even by a schoolboy. Everything is simple. The zest of DIY crafts is a sweet candy inside. An ideal gift solution for your loved one on a spring morning.
Materials and tools: colored corrugated paper (white, red and light green), cone-shaped candies, wooden skewers, floral tape (the so-called “tape tape”), double-sided tape, a vase for a bouquet or a basket, scissors, a ruler, a pencil .

Stage 1
White corrugated paper is cut into strips measuring 15/3 cm.

Stage 2
Each of these stripes is curled in the middle, as in the photo.

Stage 3
A petal is made of a twisted strip: corrugated paper is manually unbent, squeezed to obtain the desired shape of a crocus flower.

These primroses with three petals look nicer visually, although their number can be increased if desired.

Stage 4
A rectangular piece of double-sided tape is glued onto a wooden skewer.

Stage 5
A candy is put on a skewer. It’s not necessary to pierce the sweet shell itself. It is good enough to wrap the label around the adhesive tape.

Stage 6
Around the candy, ready-made paper petals are stacked. At the base of the crocus, they are wrapped with thread.

Stage 7
The stem of the spring DIY craftsmanship is formed using a floral tape with an adhesive base.

Stage 8
The leaves of the flower are made of light green corrugated paper. Manually, they are given the likeness of the natural form of crocus leaves.

Stage 9
Finished sheets are inserted inside the floral ribbon and wrapped with it.


